The Network Command -
A network is a surface made from a grid of lines that control the shape,
Exactly in the same fashion that the longitude and latitude lines work on a map or globe.
But, just like the way a globe is constructed, a network can be constructed -
by using rings instead of lines with definite end-points.
This creates a surface that doesn't have a terminating edge, but wraps around.
Think of a tire (tyre), where the surface can be made with rings to
define the shape, starting from the defining rim on one side and ending
at the other.
Most object surfaces created in this way can of course be created from a simple revolve, loft, or sweep -
But, a network can yield an amount of increased control over the shape and added detail of the surface.
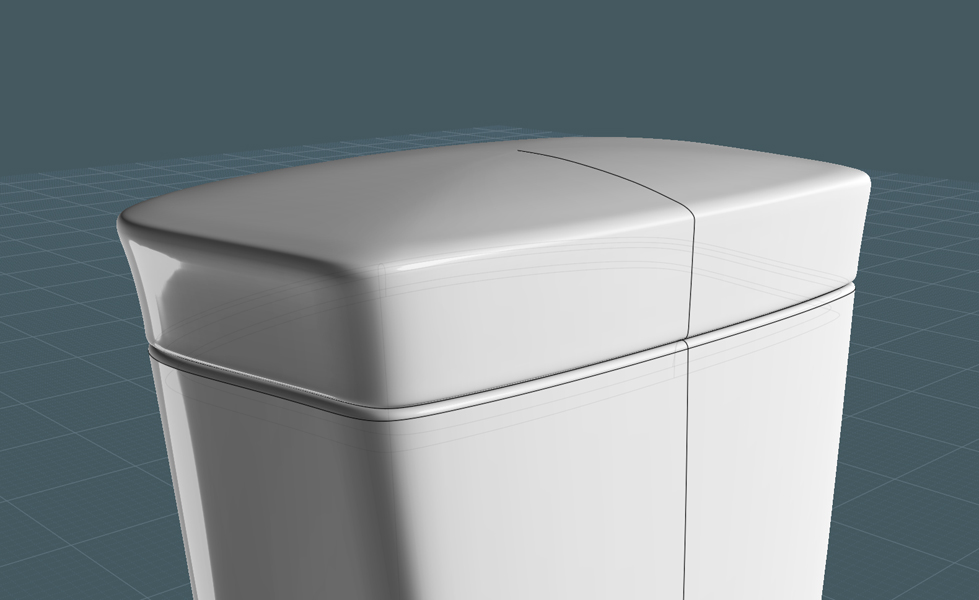
This example shows the subtle curvature detail obtainable with a network.
Notice how you can define many sides at one time.
This could be a container lid.
For lack of a good type name for this particular type of network,
we can call this an "Axial" network, because the definition of the surface is tube-like or has some type of relative radius.
It uses both "profile rings" and "profile rails". But you may be able to use two crossing sets of rings.
The course of the pair can make a myriad of shapes: they can be
tube-like, or closed on both ends like a sphere. The shape can even fold
over to produce and inside surface and even move in any direction.
The Profile Rails can be connected together at one or both ends, as in a polar coordinate system, or they can be independent.
Both rings and rails can be any shape and be oriented in any direction -
it's their crossing that allows the Network command to negotiate a
NURBS surface.
First - Establish the Profile Rails.
They don't have to touch in the middle, but if they do, if you make sure
that the combination of the first two control points in each rail are
all planar (in line), or in tangent: then the surface in the polar area
will be relatively smooth. This, giving the illusion of one solid object
surface.
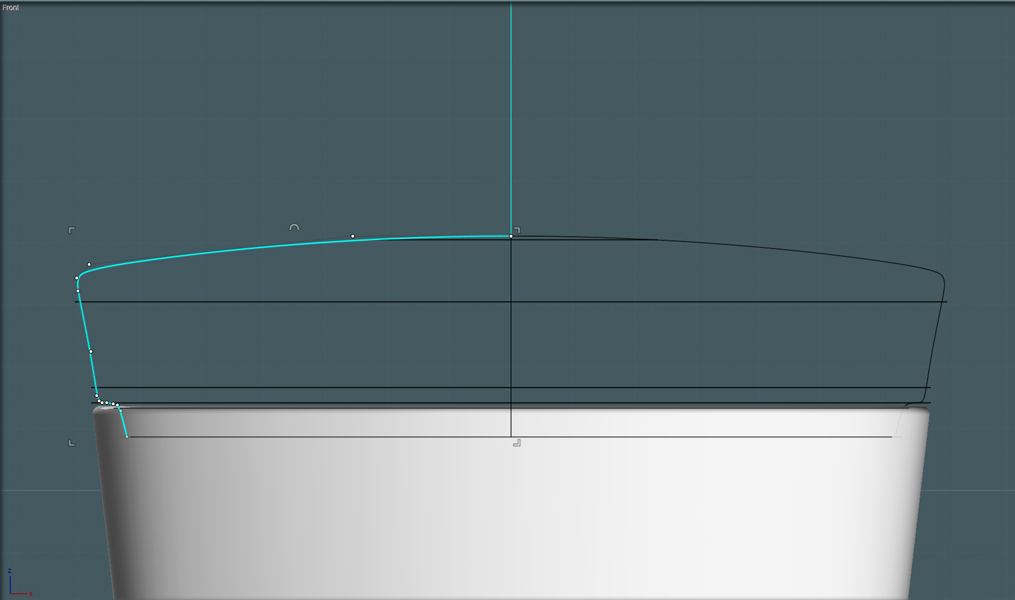
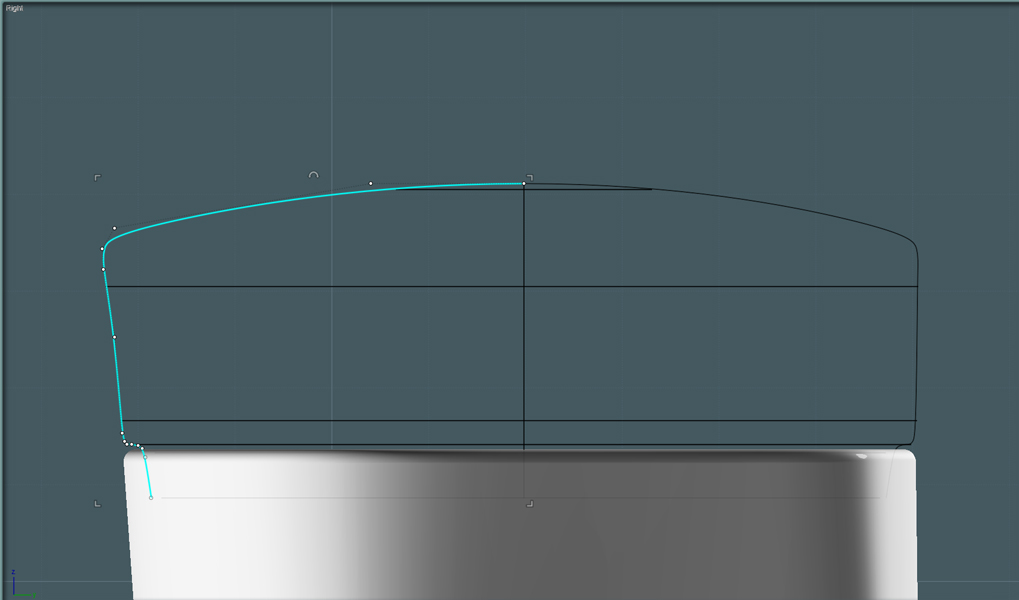
Second - Establish the Profile Rings.
Often, just copies of an original shape will work, but keep it mind that
if the shape in a different part of the object changes, so should the
shape of the ring - just as is done in a loft.
Note, the rings do not have to be planar, nor parallel - as long as they
define approximate grid crossing intersections with the rails.
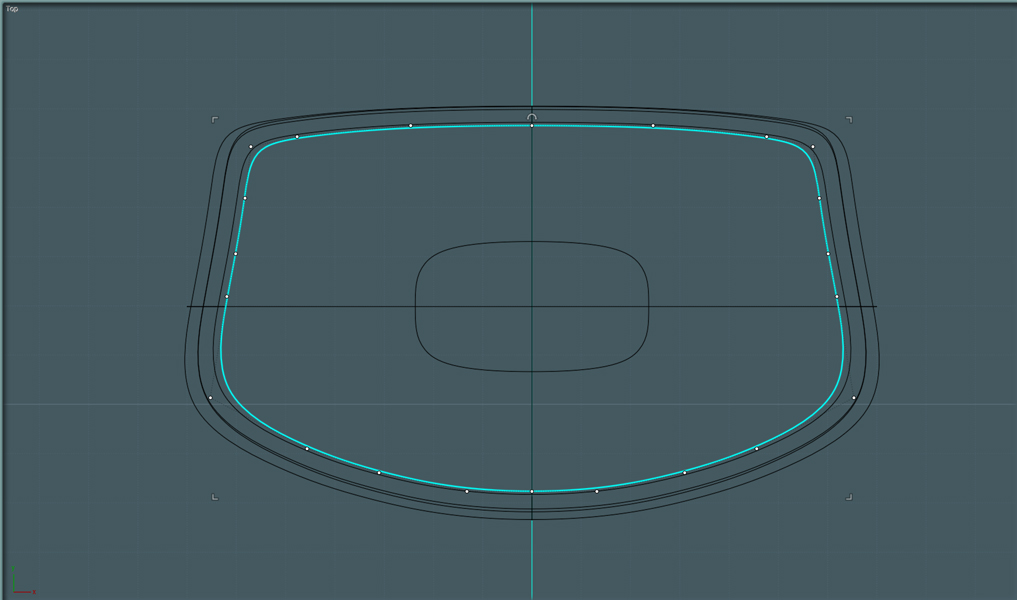
Third - Tighten proximity. Network will average the surface represented by the rings and rails.
They do not have to be accurate, but accuracy helps.
Going into each Ortho side views will make this easy.
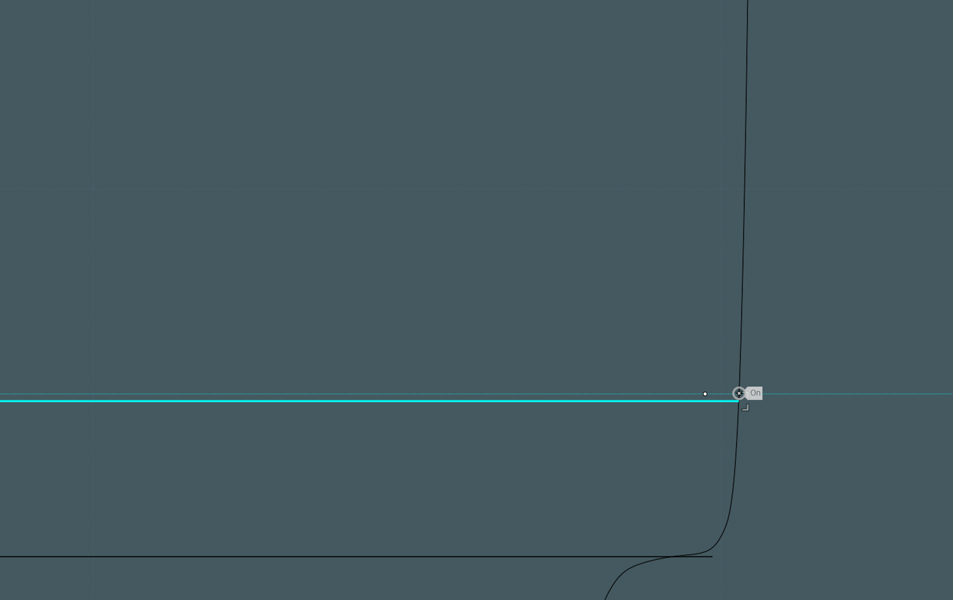
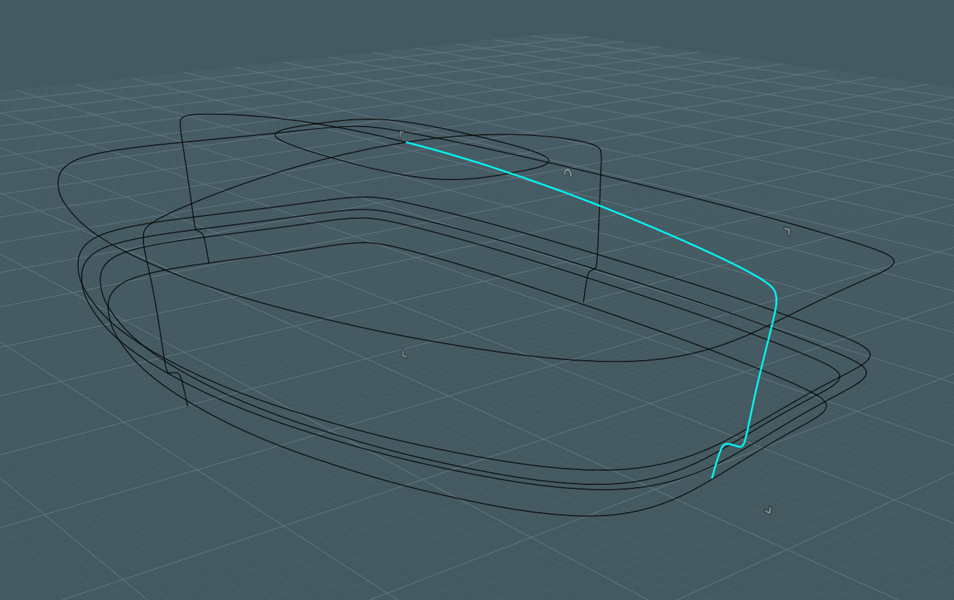
Here is an example "network cage" ready to be networked.
In this example, one set of rail ends are touching, and the others are open, but the rings are virtually connected to the rails.
Note 1: There is no need for a profile ring to be very close or at the
polar rail-touching position - a tiny ring there will actually yield an
unpredictable result.
One placed close as shown will suffice.
Note 2: There is no rule that dictates that the rails always be 90 degrees apart in orientation.
You may be able to add more, or make it fewer, but at least one in every direction makes a good shape.
The arrangement with Network applied...
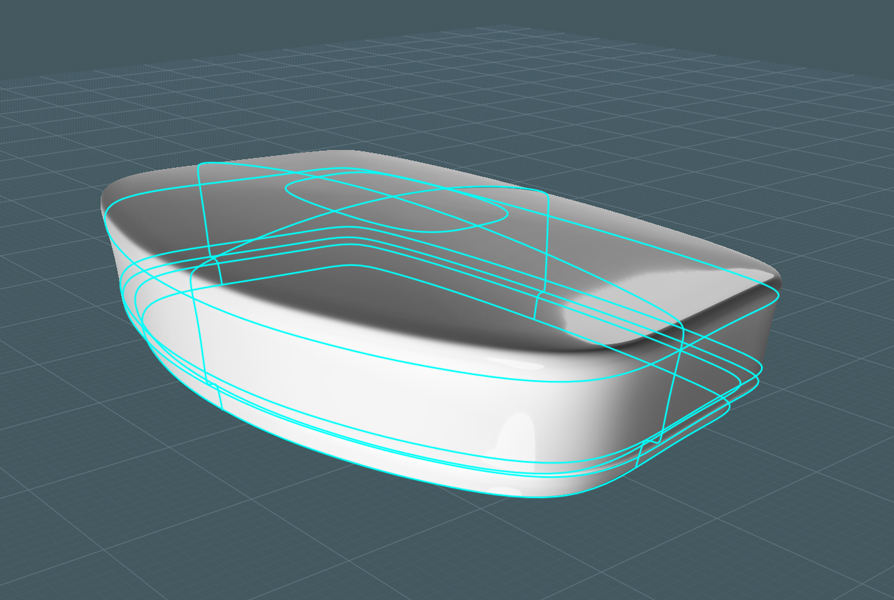
In this example: there is a set of rings that start at the bottom, work
their way up, around, then back down to a low position. They are
following the virtual path of the profile rails.
The rings colored blue are the inside ones, the red curves are the rails.
Yes, a Loft could be used to connect the rings to make a new object, but
the rails give more guarantee to the final shape and control of detail.
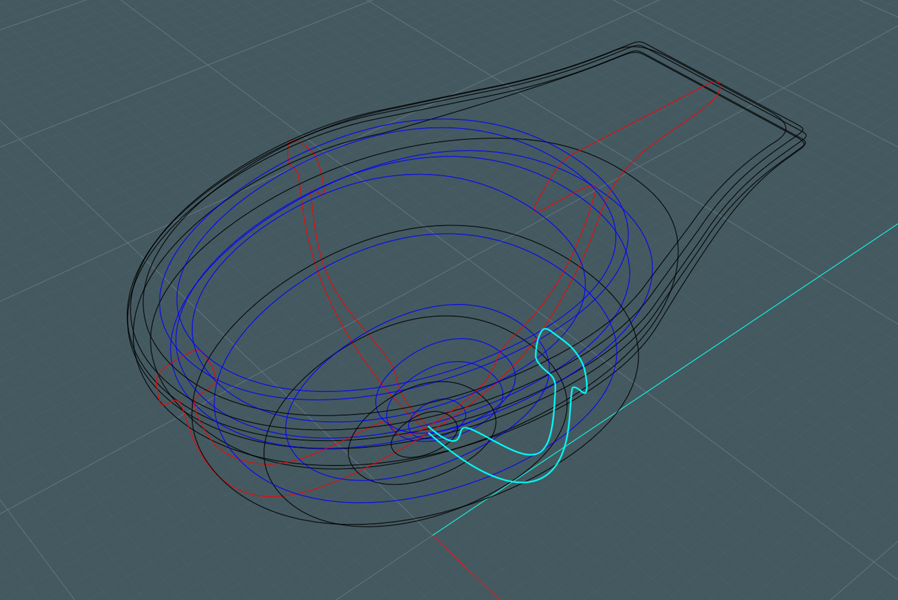
Try this network set for yourself:
Go to http://www.mediafire.com/?3tlre2zc6y1qh
Download the file: Network_Fun_01.3dm
 By "Ed" (EddyF) of Moi3D
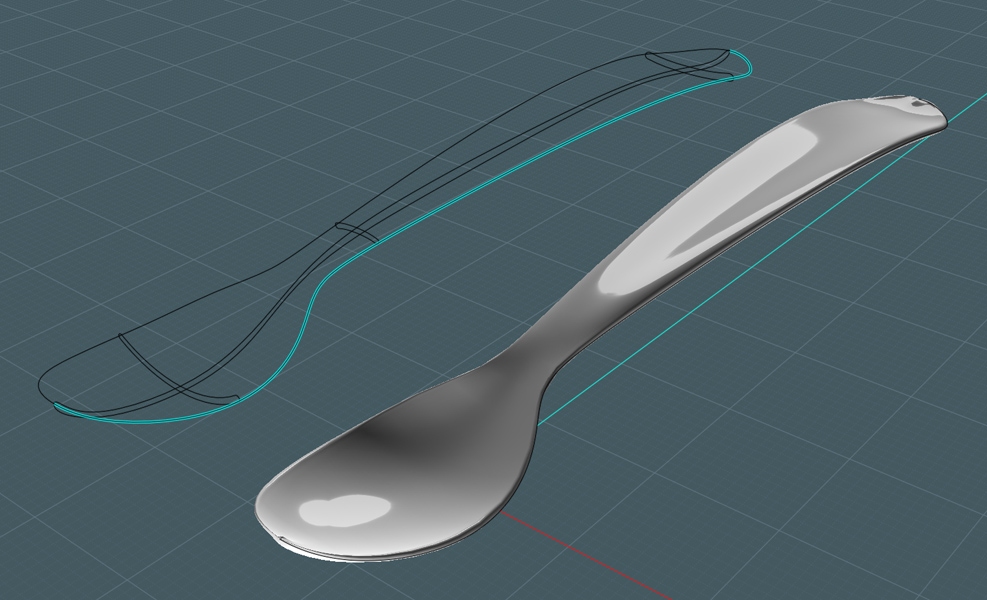
Here is a quick and dirty version of a spoon done with a network:
http://www.mediafire.com/?3tlre2zc6y1qh

And consider this: With Network, you could make a very clean spoon
surface with it's many subtle and varied curved surfaces - then apply
fine ornamental detail with the Flow tool.


 By "Ed" (EddyF) of Moi3D