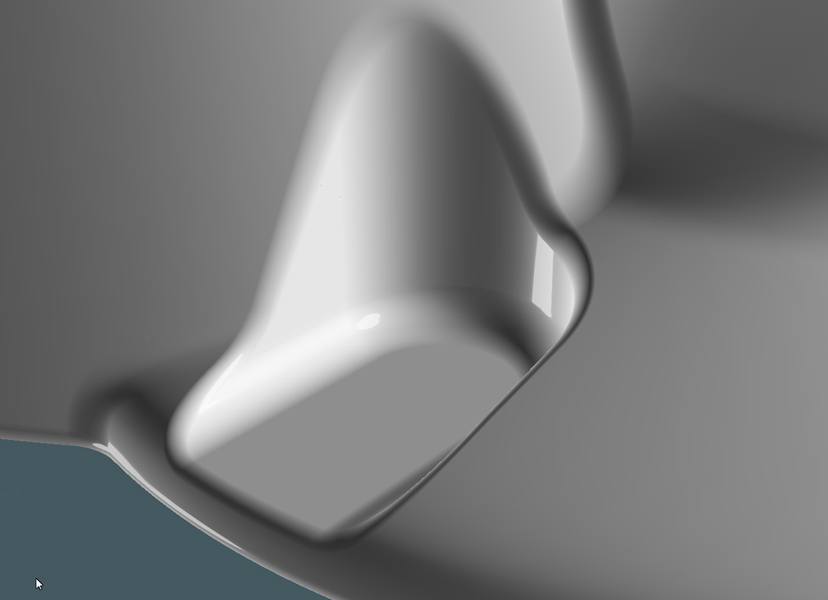
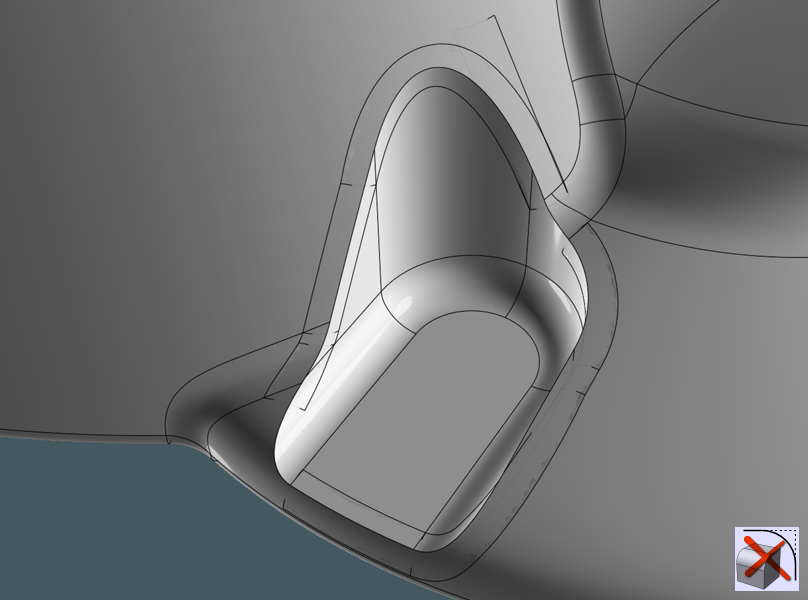
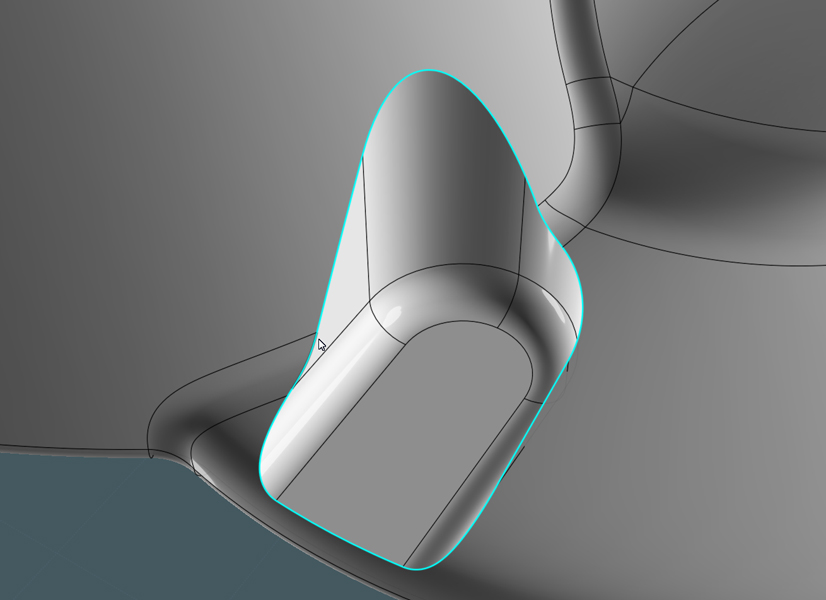
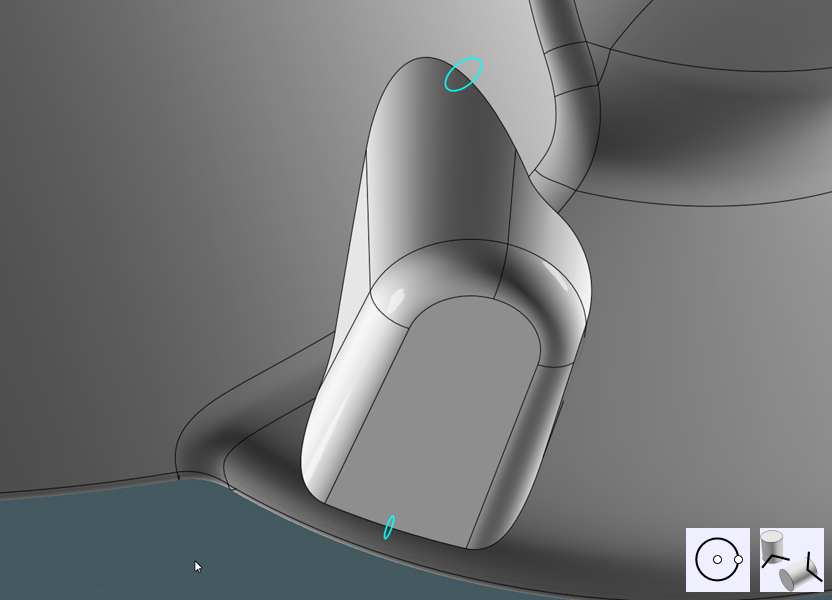
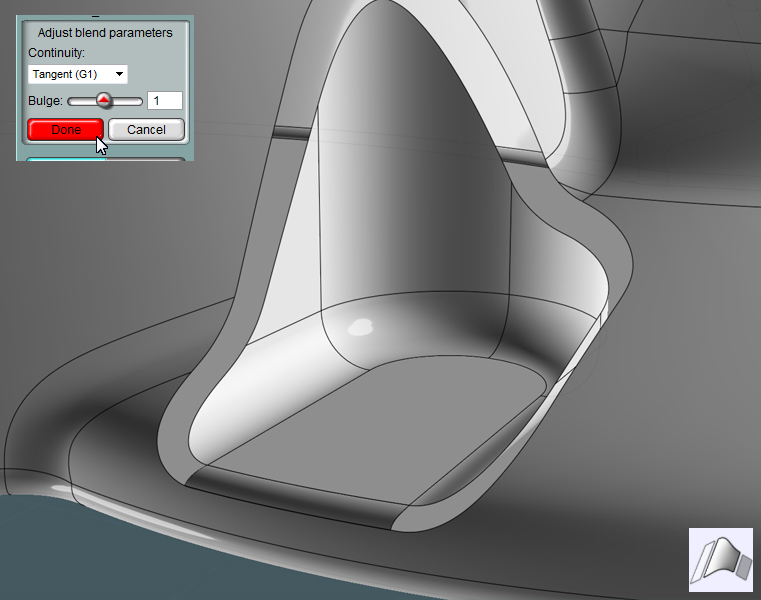
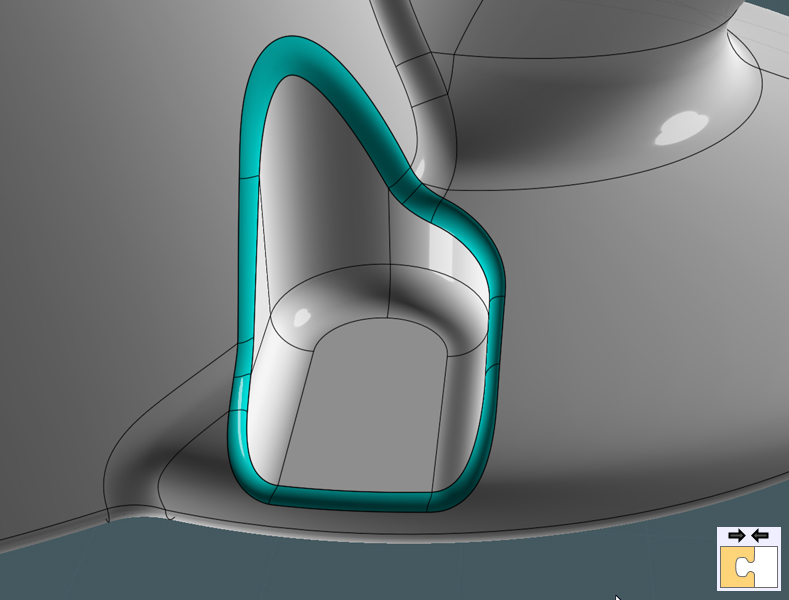
Manual Fillet - using the Blend function:
Moi3D
does not have a very forgiving Fillet engine, nor is it variable along
the span of an edge. The Fillet function is frustrated by curve and
surface dis-continuities, making it fail quite often.
For those intrigued by the notion:
Here is a mini-tutorial on how to get the result you want using manual methods.
I've seen this done in a few Rhino tutorials.
It's a "Manual Fillet" :-)
Sometimes effective use of the Fillet tool is impossible given
complication such as uneven adjoining surfaces, sharp angles, broken
edge curves, tiny surfaces in the way and etc.

To make a "manual fillet" do the following:
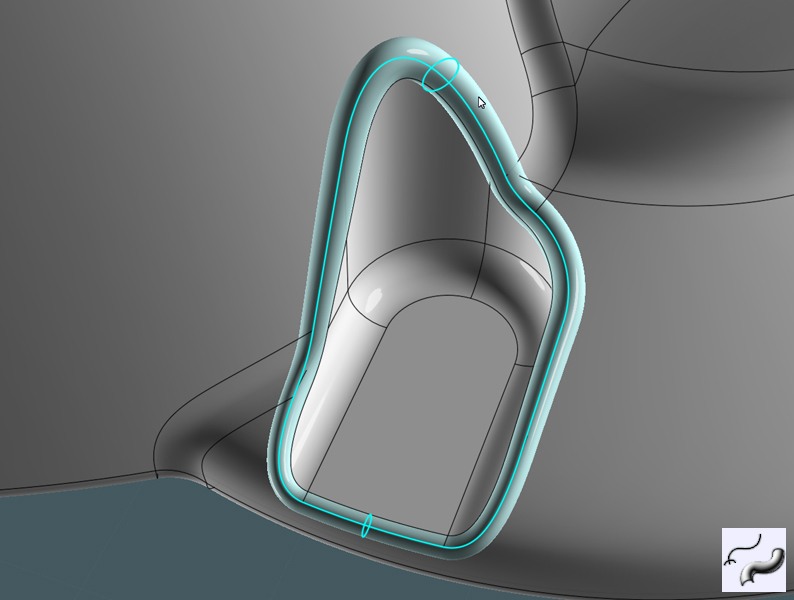
1) Select the desired edge curves and Join to make a separate path.
It can be closed or open. If open, extend the lines a little to clear the objects a little.

2)You need to make a swept shape along the path from profiles.
To do this, create circle profiles to represent the gap (or fillet size) that you want in each of the areas on the path.
3) Use the Orient command to position the profile circles, so that they'll be perpendicular on the path.

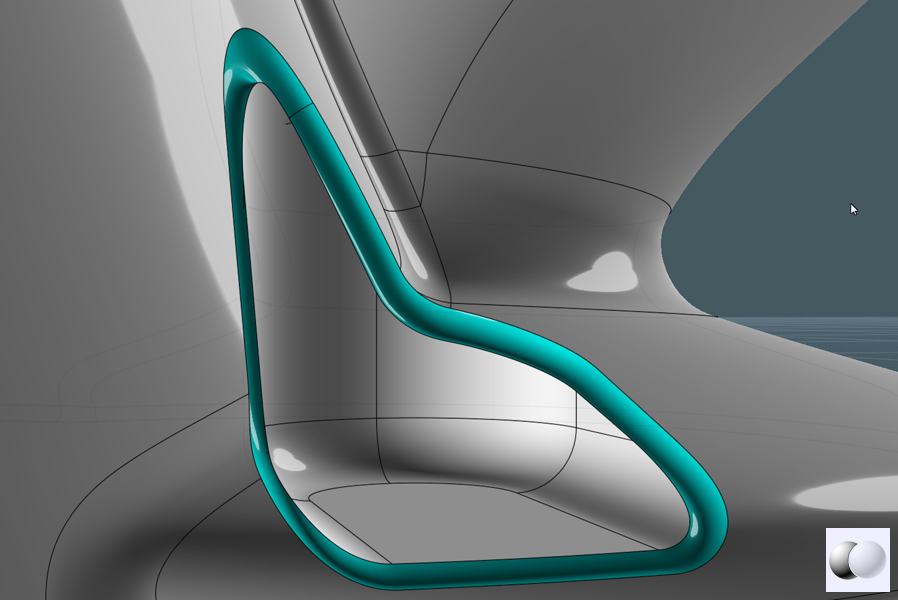
4) Sweep the profiles.
Note, when sweeping a profile along a path - if the path has too
sharp a bend to accommodate the profile sweep without "kinking" - you
must do separate surgery on the sweep object, by using Boolean-differenc
(or cutting out) the bad kinked corner and performing a Blend on the
edges of the cut area to create a new bend for the sweep. The Blend-ed cutting shape must be free of irregularities and kinks.

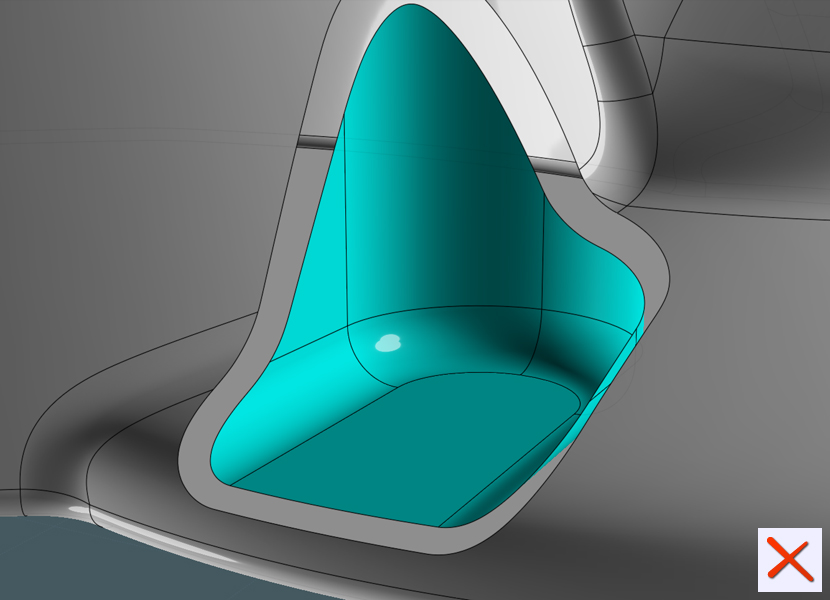
5) Boolean Difference the swept shape from the target surface object.
If all you need is a "Chamfer", congratulation - here you go.
But if you need a nice fillet....

6) Delete the leftover chamfer surface.

To make Blends between the surface edges to both parts of the target
surface the curve segments need to be roughly oriented to each other...
or in other words, the curve segments need to match.
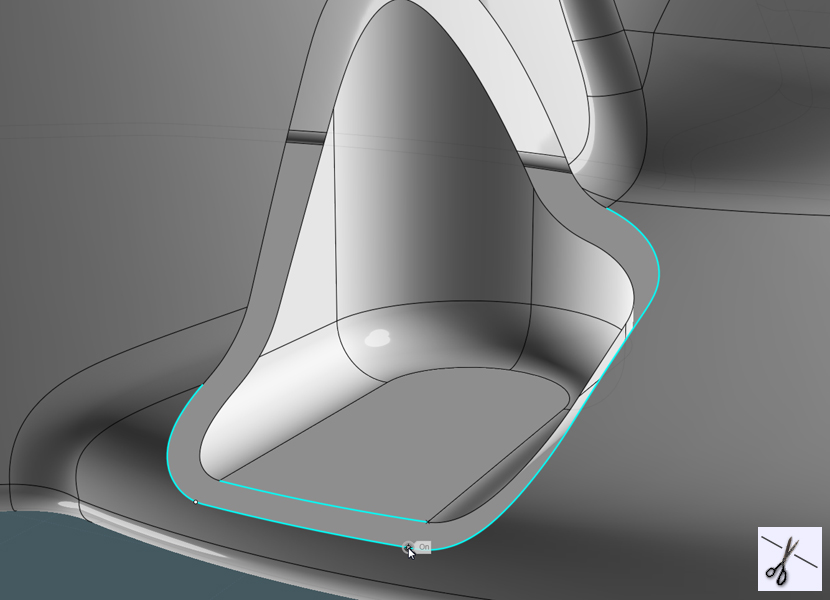
7) Trim the surface curves where needed with the Trim command to break them apart.
They'll still be attached to their surfaces.

8) Blend these surfaces...

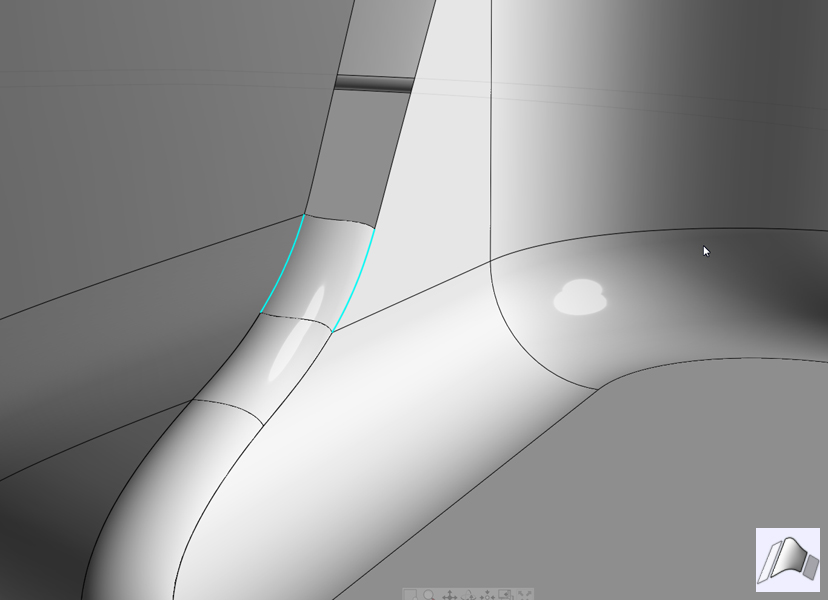
Note how their edges are wavy. Most of the time these wavy edges will match up.
You must handle each intersecting path as the end of every blend section.
(At least until Moi3D V3)
If
you have any and side-edges to a Blend surface that do not match,
you'll need to do any necessary Boolean Difference work to clear a
section, then us Blend to reach their surface edges together.
A related example can be found at the end of the tutorial at this link: http://moi3d.com/forum/index.php?webtag=MOI&msg=4880.1

9) Many times you'll have edge curves that are broken into segments.
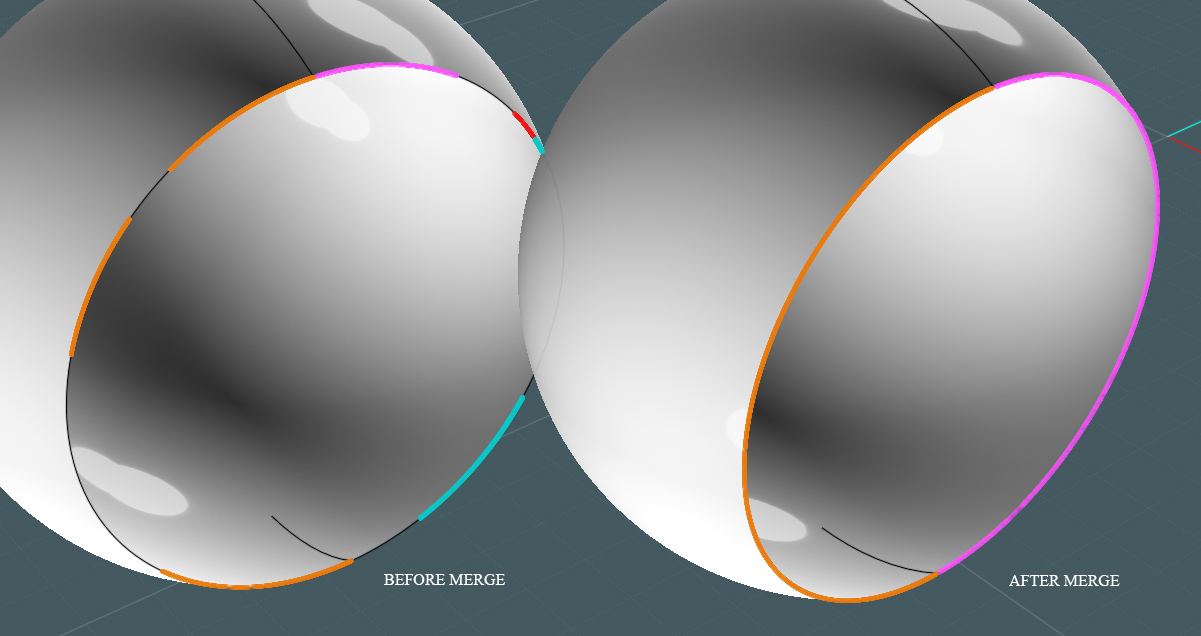
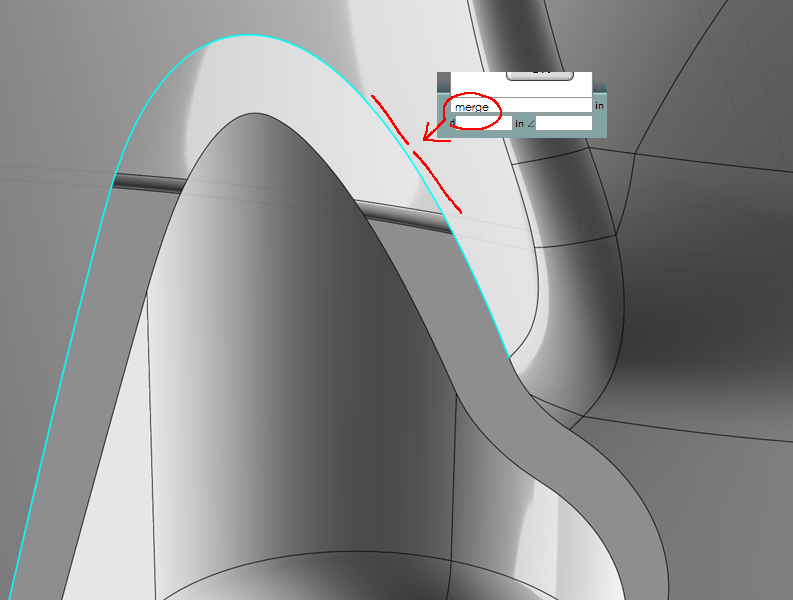
You must run the non-UI command "Merge" when the broken segments are selected.
This will not combine segments that are intersected by off paths.
You cannot Merge around "T" lines that intersects the edge.
But to make for faster work, you can grab ALL of the segments and Merge at
once will combine each total selection of broken curves within their
own respective surface together, separated of course by the "T"
intersections.
To cut them back up ANYWHERE, use Trim and "Add Trim Points"
See this example:

This may appear to be a solid edge curve, but it is not. You can put them back together using "Merge".

10) Join all surfaces...

Look at that!
A nice and smooth variable-radius fillet that exists in even the most complicated target surface conditions.
