Twirl or "Whirlpool" objects using "Flow on a Revolved Surface"
I thought I'd give a detailed tutorial on how to "twirl" objects.
This is not completely related to the new "Twist" tool, as it has a different operation, but it uses Twist.
If a tool was to ever be programmed to do twirls, Michael might call it the "Whirlpoolizer" ;-)
You'll be using a combination of the Flow and Twist tools.
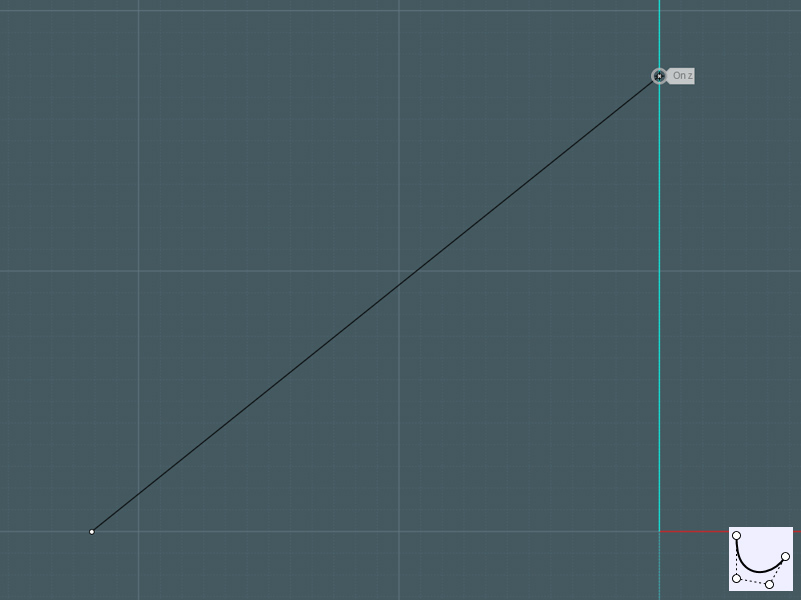
1) Draw a Freeform curve at an angle above the ground plane. A start and end point is all that is needed.
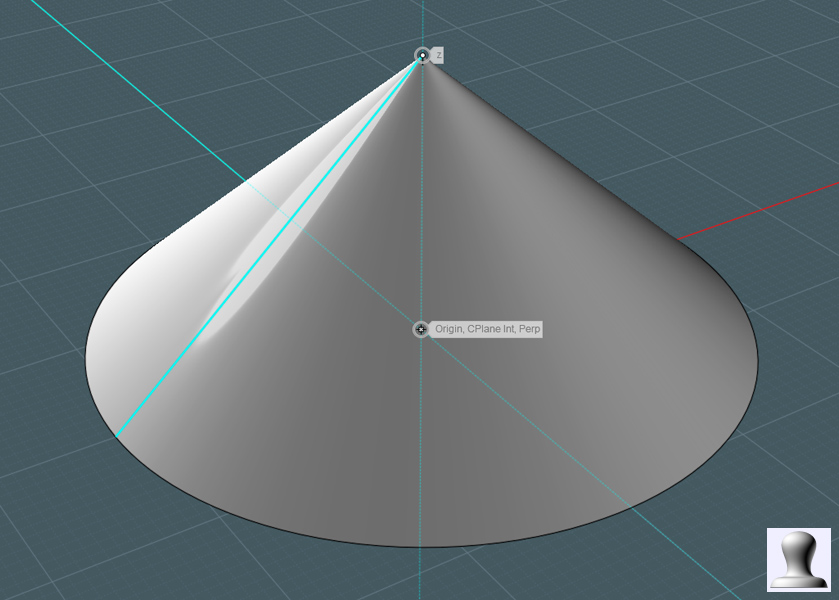
2) Revolve the profile curve to make a cone.
NOTE: Creating a cone with the Cone command is easier, but you can add
more points to the curve profile to get more control. (Your choice)
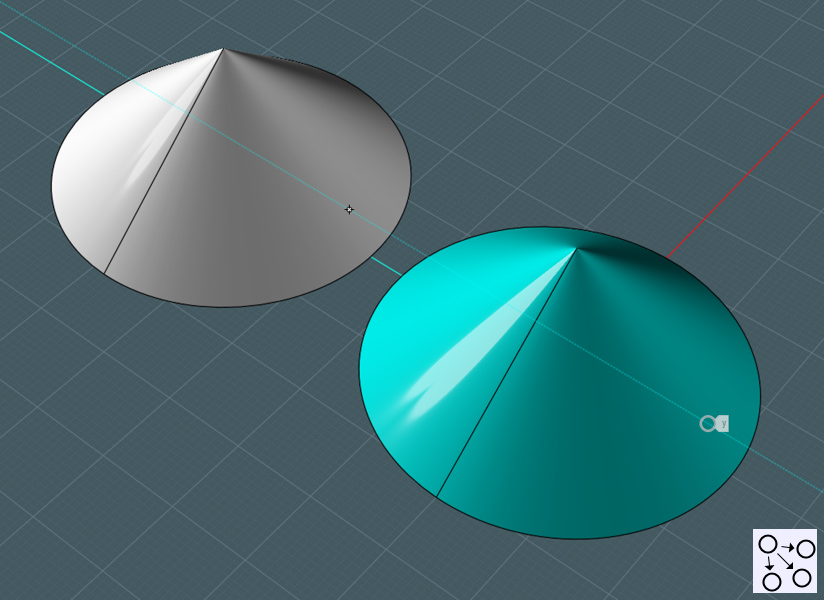
3) Copy the cone.
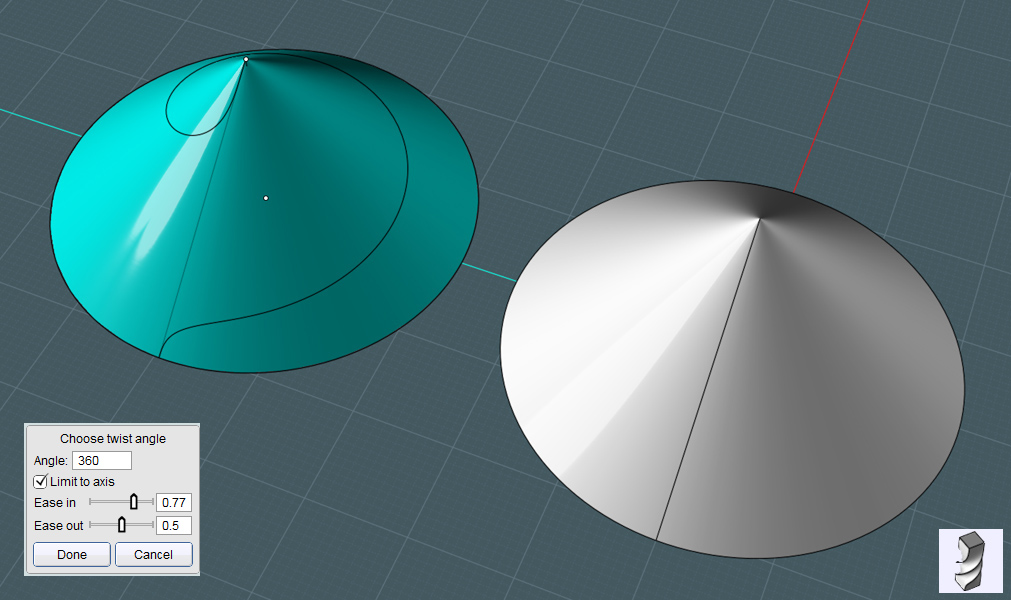
4) Use the new "Twist" tool on the copy. The end control points should be at the tip of the cone and the center-base.
Twist to any desired setting...
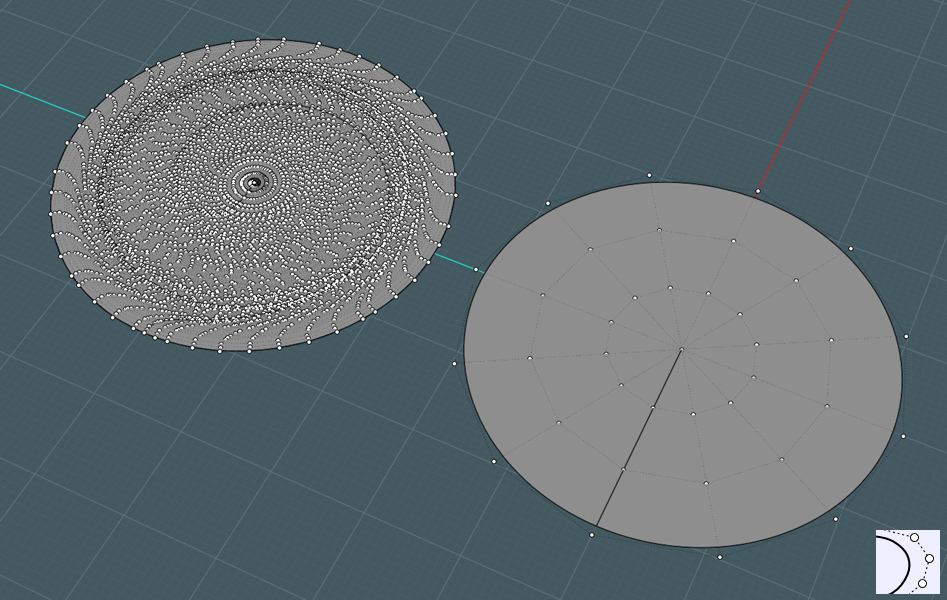
5) Make both cones flat. This will now create a "reference" and "target" surface for your Flow tool to use.

6) You can inspect the point arrangement if you wish. Here you will notice that the original is ordered in a straight pattern,
the twisted flattened cone has a "twirled" arrangement.
7) Position object(s) to "Whirlpoolize" on the reference plane. This will allow Flow to get it's bearings.
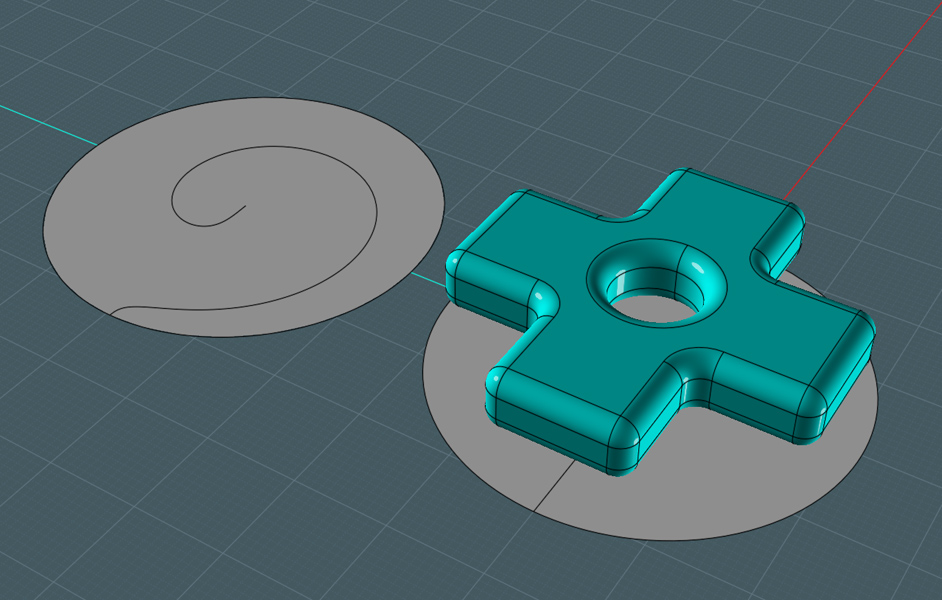
8) Use the new Flow option, choosing the "reference" and "target"
surfaces. The new Flow is sensitive to where you select, so keep that in
mind.
NOTE!!!: Avoid the degenerate center point area - this zone is evil and
bad things may happen, including strange spikes and surface explosions.
Placing object on or over the BRep seam line seems to only be an issue if you get things close to the degenerate center.
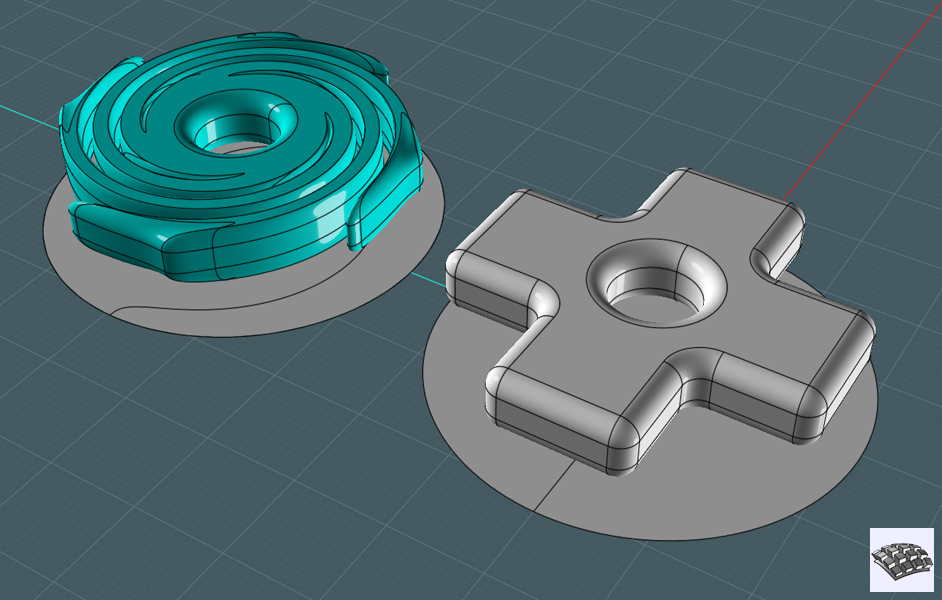
As you can see: The flow tool will only transform objects by comparing two surfaces and will match everything accordingly.
The point of using a Revolved surface for the reference surface is to be able to use a "revolved" target surface.
So therefore, if you Twist the target surface or alter it in any way, the Flow command will follow suit.